
How do you melt snow without a metal container? This article is about unconventional ways of melting snow.
Last year I was part of an overnight wilderness survival course in temperatures around 3 degrees Fahrenheit. I was very warmly dressed, but only took a piece of paracord and a bushcraft knife. I carved a bow drill set and started a long fire with it. Then I built an extremely simple bed in a naturally sheltered area and spent the night by the fire.
Throughout the night I was extremely thirsty. I brainstormed ways to obtain water, but it was dark and I was too tired. Later the next day I would drink as much water as I wanted anyway. But that experience got me thinking about ways of melting snow in a similar situation.
These are the methods that I could have applied:
Snow marshmallow for melting snow
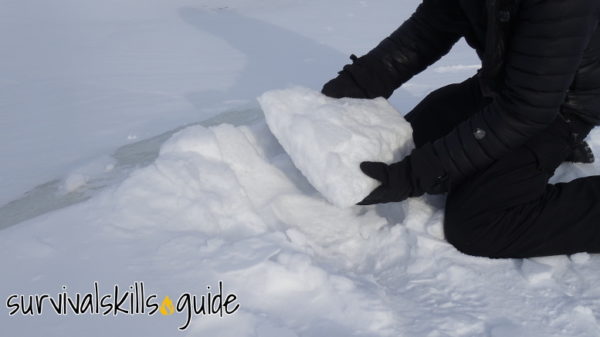
The snow marshmallow only works well with compact slabs of snow so it doesn’t always work. This type of compacted snow is abundant in alpine areas, but you might be able to find compact slabs of snow in very windy areas as well, like by a rock outcrop in the middle of a lake.
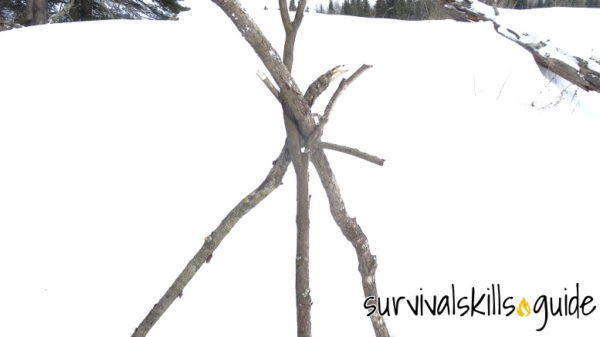
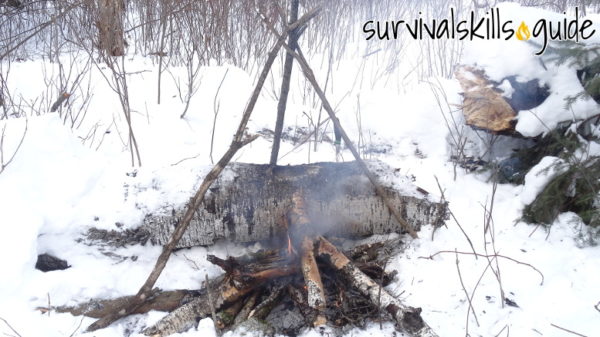
Once you’ve found good snow, build a tripod where your fire will be. I like to use three Y shaped branches for the tripod. Try to have the fire downwind from your snow marshmallow and catching container, to avoid ashes landing in the water and the taste of smoke.
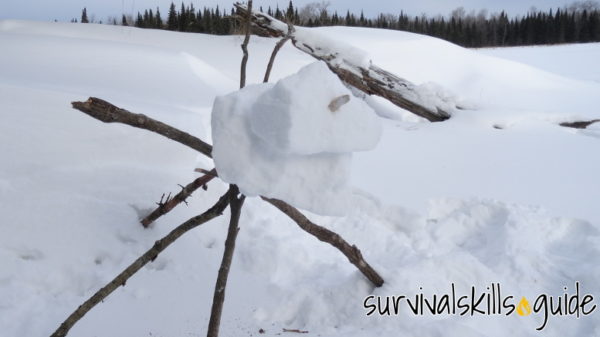
Insert the bottom of a sturdy stick (two fingers wide) in the snow and the top over the tripod. Carefully pierce the compacted snow with the stick. If you don’t have much compact snow around, be very careful not to let it fall and break.
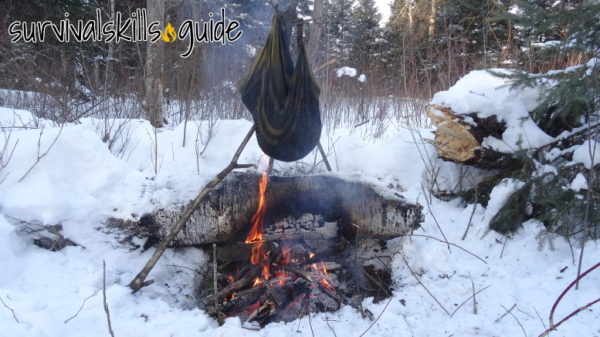
Waterproof jacket as improvised container
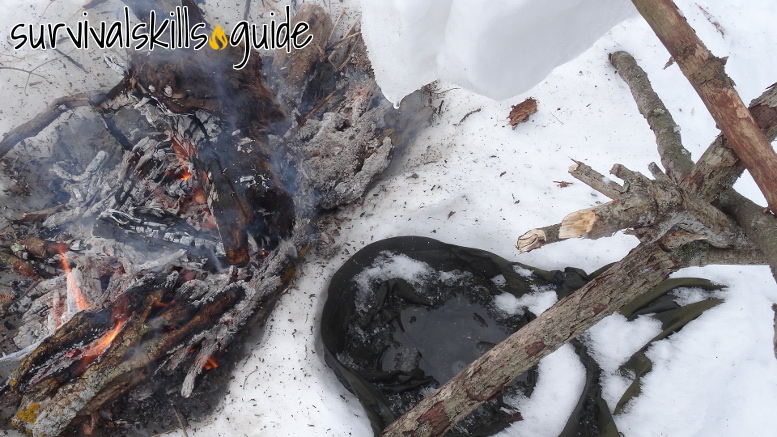
Using your high quality waterproof jacket can be risky, it might get holes from embers or burn if you are not careful. You will also end up with a wet or frozen jacket, so you’ll have to dry it by the fire. Nevertheless it is an effective survival technique for melting snow when no other methods are available or practical.
The first step is to shape the ground like a bowl below the suspended snow.

Place the jacket with the exterior waterproof fabric facing up, I used the hood because it already has the shape of a container.
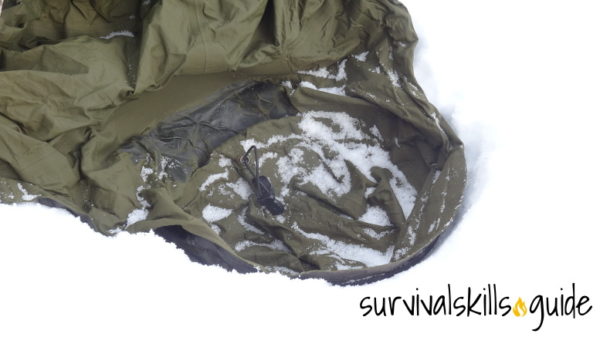
For this to work both the container and the suspended snow have to be very close to the fire. There is a big risk of burning small holes into the jacket with sparks and embers flying from the fire, so I covered the rest of the jacket with snow. I also sprinkled snow in the container part and covered the edges of the jacket as protection from the heat. Check constantly, and replace the snow that protects the edges.
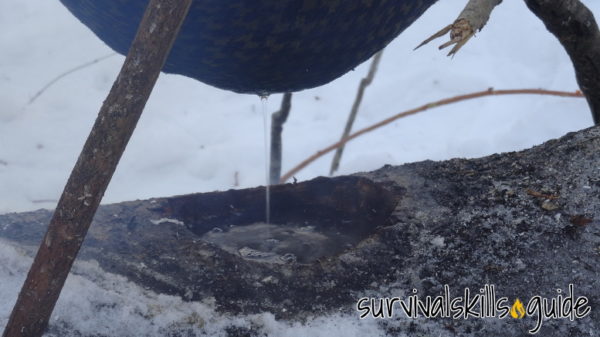
After a few minutes, the snow marshmallow started dripping.

Water from melted snow is not treated, but that’s fine with me. To treat it I would have to boil it.
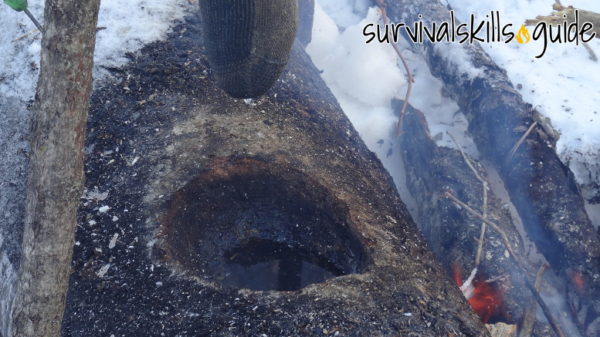
Coal Burnt Container
A coal burnt container can be made with just fire, no other tools are needed. If you have a knife or a hatchet then the process will be faster than if using a rock or a strong stick as a scraper.
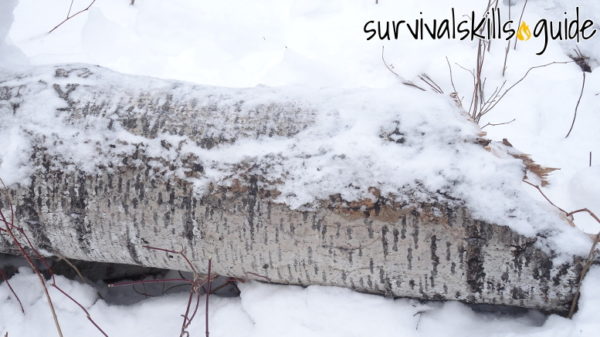
I found a solid, downed log for the container, wider is better. If you are on the move you might want to make a portable container, but that takes more time and effort.
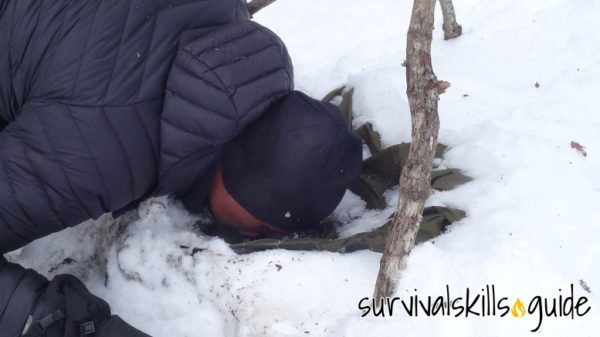
Start a fire nearby to get good coals. I suggest you build the fire not too close and down wind from the log you’ll be working on.
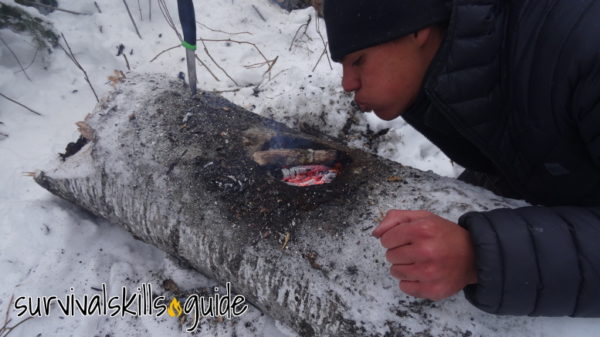
Once you have a few burning sticks and coals, place them over the log. If the log is small you’ll have to use small coals. Otherwise, the intense heat can split the wood.
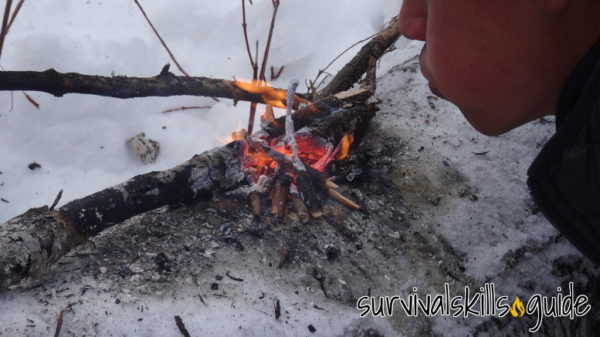
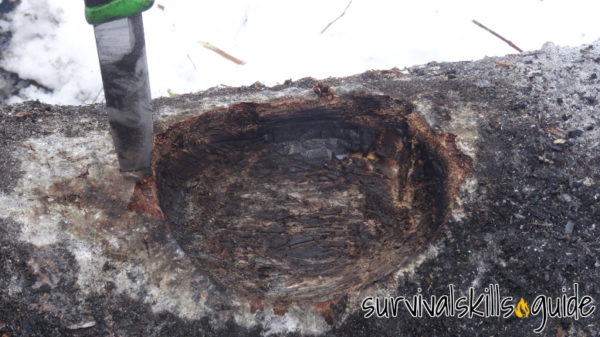
I blew over the coals constantly until the log caught on fire. After a couple of minutes I scraped the burnt pieces off with my knife. Then I placed some coals and sticks back in the hole and blew constantly again. You will have to scrape, burn, and repeat until you have a good enough container.
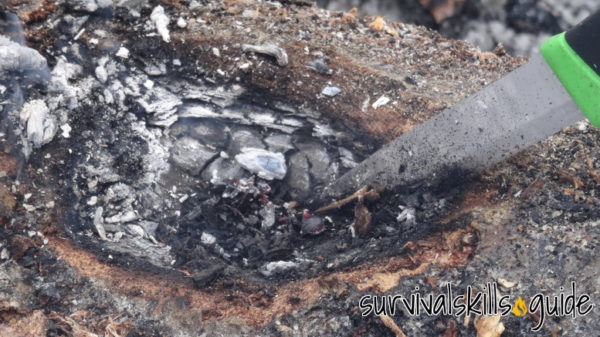
You can use snow to clean up the ashes from the container.
Using clothes to melt snow
Use a sock, shemagh scarf or a mosquito net to collect and suspend snow over a fire.
First build a tripod and place it over your container and close to the fire.
Snow is mostly made of air, so try to compress the snow inside the sock.
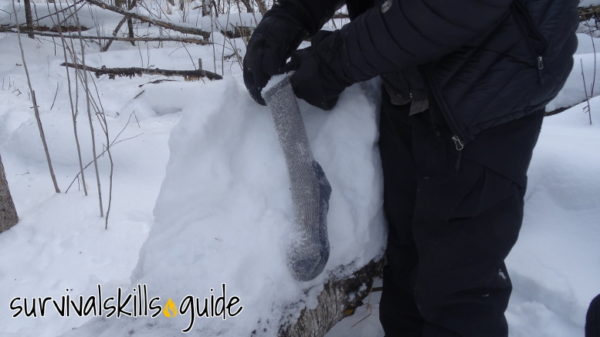
Before you tie the sock to the tripod it is important to cover the outside fabric with snow to protect it from the flames. Once the sock is soaking wet you don’t need to worry too much. After a few minutes by the fire the sock will start to drip water.
A better option is to use a shemagh scarf; it’s surprising how much snow it can hold. I placed a compact ball of snow in the center and tied the opposite ends.
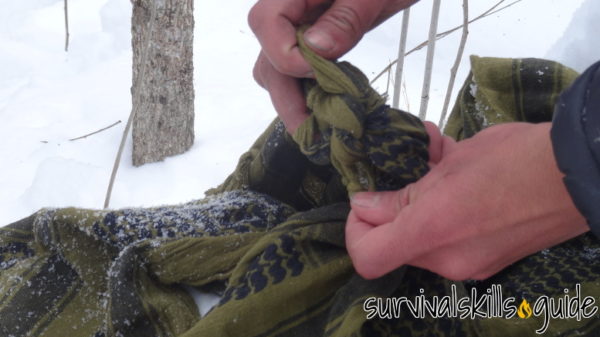
Then I filled it with more snow.
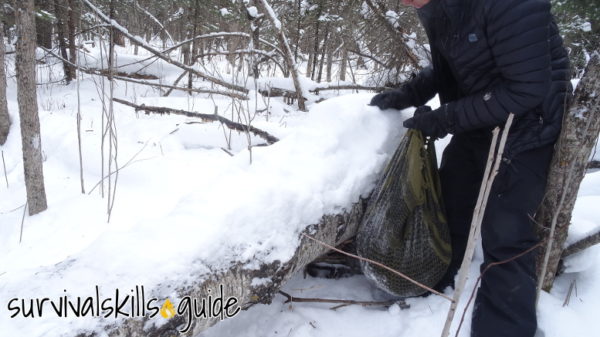
Cover the bottom of the scarf with snow to moisten it and protect it from the flames.
It took a long time for the water to start dripping because it was a lot of snow, and the snow at the bottom would just absorb the water like a sponge. Once it dripped though, it was almost a constant flow.
It took only a minute to fill up the container.

Unconventional Ways to Melt Snow for Water
Although this techniques are less than ideal, they can help you hydrate in a survival situation. It’s not obvious but being well hydrated is just as important in a cold environment; it keeps your metabolism working properly, helping you stay warm and reducing the risk of hypothermia. If you have any other unconventional but effective ways to melt snow let me know in the comments.
I’ve noticed that the underside of nearby tree branches become a bit sodden when water is boiled underneath it (steam saturation). That water should be potable and able to be ‘wiped off’ with cloth, then wrung into mouth for water.