Walking on ice is never 100% safe, but there are things that you can do to greatly reduce the risk of falling through it. Keep reading to learn how to tell if ice is safe to walk on.
This is an important topic, so this article is based on reputable sources listed at the end.
Ask the locals, that’s the first thing you can do. A local bait shop or lakeside resort should inform you about the ice conditions. Also ask about any dangerous areas.
Don’t blindly trust their information; check the ice for yourself.
Factors that may determine ice strength:
Appearance and Color

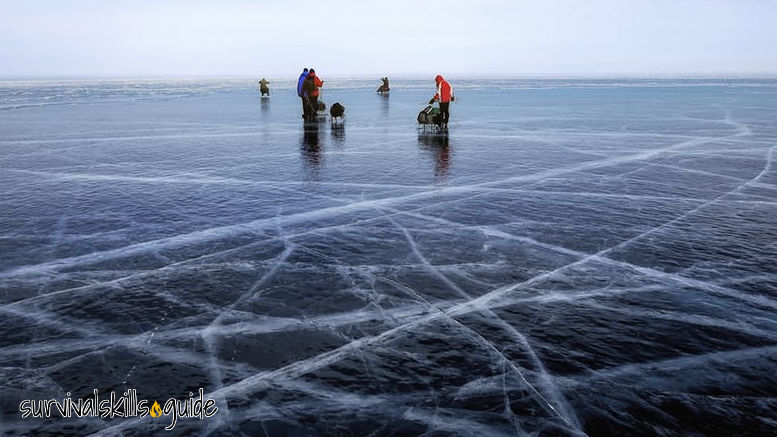
- Blue to clear ice is strongest; it is the most dense and safe to be on, if thick enough ( at least 4 inches or 10 cm thick).
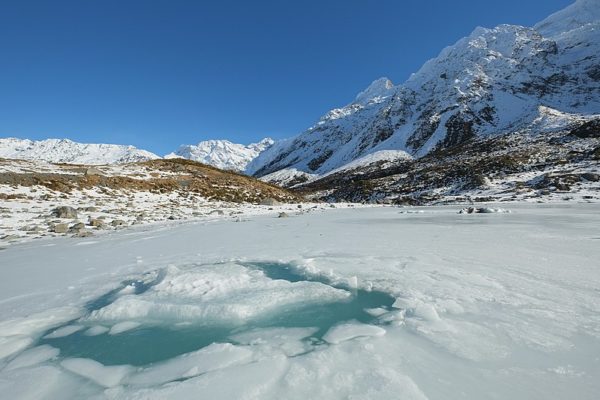
photo by Pseudopanax
- Snow ice is half as strong as blue-clear ice. Snow ice is formed by wet snow freezing on the ice. Often it’s weak due to air pockets in the ice. Ice formed by melted and refrozen snow appears milky.
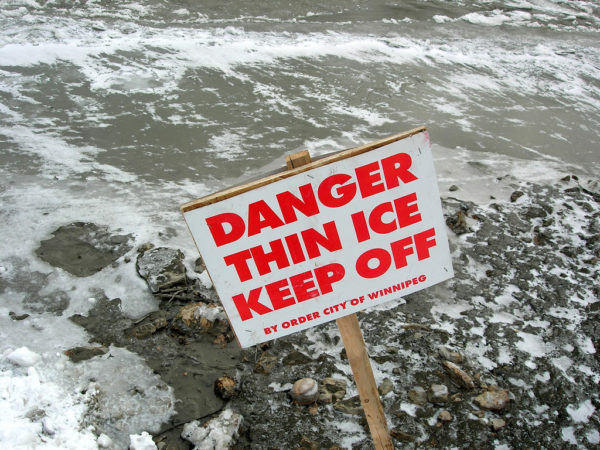
photo by Dano
- Grey ice is unsafe. Gray indicates the presence of water. Ice can melt even if the air temperature is below 32°F (0°C). Its weak density can’t hold much weight, stay off.
- Slush ice is only about half as strong as clear ice and indicates the ice is no longer freezing from the bottom. If there is slush on the ice, stay off.
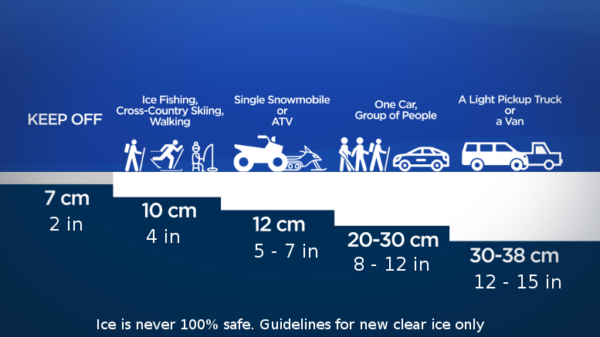
Thickness
Ice rarely freezes uniformly. It may be a foot thick at one point and only an inch or two just a few feet away.
Check ice thickness every 150 feet.
Water depth and size of water body
Large and deep bodies of water take longer to freeze. Ice near the shore can be weaker than ice farther out.
Salt or fresh water
Sea ice tends to be weaker and needs greater thickness to support the same weight as fresh water.
Currents and tides
Ice formed over flowing water and currents is often dangerous. The different water depths and water temperature in rivers and streams can result in highly variable ice thickness. This is especially true near stream outlets and inlets, springs, channels between lakes, bridges, and culverts. Ice on outside river bends is usually weaker due to the faster current. Additionally, there is the risk of falling through the ice and being swept by the current.
Snow cover
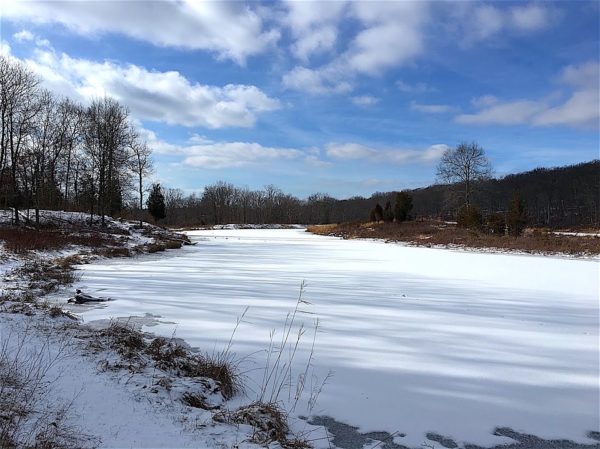
The insulating effect of snow slows down the freezing process. Ice under the snow will be thinner and weaker than uncovered ice. The extra weight of snow cover also reduces how much weight the ice can support. Shovel any snow before testing the ice for thickness and color. Watch for large cracks, depressions or pressure ridges in the ice and avoid those areas. A snowfall also can warm up and melt existing ice.
Changing air temperature.
Be cautious in areas where air temperatures have fluctuated, having a significant impact on ice quality. When temperatures vary widely, causing the ice to thaw during the day and refreeze at night, the result is a weak, unsafe ice.
Changing water levels.
When the water level drops, shore ice may be suspended in the air (and is likely to be weak without the underlying water).
Logs, rocks, bridges and docks absorbing heat from the sun.
These structures often have thinner ice or open water near them.
Venturing on the ice
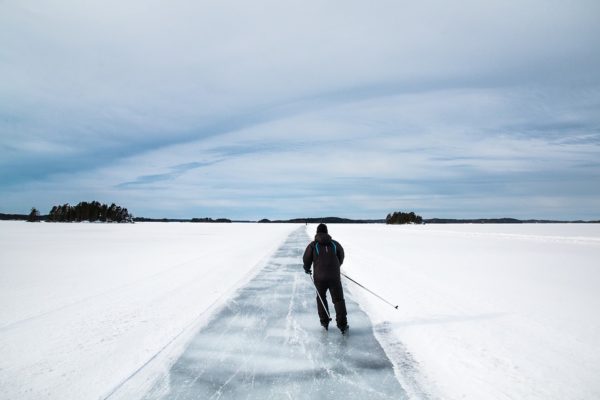
- Let someone know where you are going and when you expect to be back.
- Check ice thickness at regular intervals.
- Know how to use ice picks for self-rescue and a rope to rescue others.
- In a group, avoid crossing ice in a single file, and avoid standing together in a spot. Spread out.
- Test ice thickness before you settle on a spot.
- Look for large cracks or depressions in the ice and avoid them.
Safety equipment
- If unfamiliar with the ice conditions, wear a flotation device (except when inside a vehicle). If you fall, it will keep your head above water and provide some insulation.
- Take a waterproof cell phone and/or personal locator beacon for emergency use
- Bring an ice safety kit with you on the ice: throw bag, ice picks, ice chisel or auger, and tape measure.
Survival Situation: In the occasion you really need to cross suspect ice, distribute your body weight evenly across your entire figure by low-crawling with your hands and legs.
- How to tell if ice is safe to walk on? Use an ice chisel to break through the ice and measure it’s thickness. Keep using it to test the ice as you walk every 100 ft.
Self-Rescue
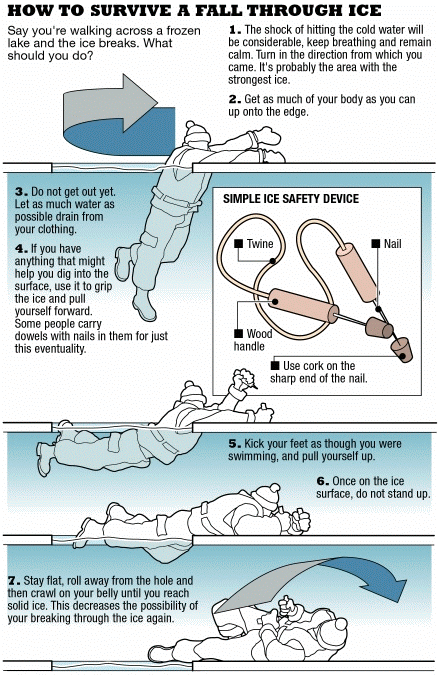
If you fall through keep in mind the 1-10-1 guideline, a way to remember the first three phases of cold water immersion and the approximate time they take.
1 Minute – Cold Shock
Try to keep your mouth closed during submersion. You might feel the need to gasp deeply and hyperventilate. Avoid panic and gain control of your breathing. A flotation device is very helpful during this phase.
10 Minutes – Loss of Movement
You have approximately 10 minutes to get out of the water or you’ll lose the use of your fingers, arms and legs. Ice picks are very helpful during this phase.
1 Hour – Hypothermia
If you can’t self-rescue, have a way to keep your head above water to wait for rescue. It could take approximately 1 hour before hypothermia makes you lose consciousness. If you can’t keep your head out of the water without swimming you may drown in as little as 10 minutes as a result of swimming incapacitation. Some people without flotation devices have survived by letting their wet sleeves freeze to the ice, allowing them to get out or holding them on the surface until rescue arrived.
Here is a video by Rewild University on self-rescue, do not attempt unless you fully understand the risks
“Stay off the ice or prepare to go through” Gordon Giesbrecht (Dr. Popsicle)

