There are passive and active ways of fishing in a long term survival scenario.
Doing both makes the most sense.
I’ve written about using fishing poles for survival, and making primitive fish traps. In this article I focus on trotlines because they are a simple, effective way of catching fish.
Trotlines start from a simple idea, tie baited hooks to a line and place it in the water over night, check once or twice a day.
The design can be extremely simple, but adding a few components makes the trotline better.
My area has Northern Pike which have sharp teeth that can cut fishing line, that’s why I use wire for the leaders (can’t afford to lose hooks in a survival situation).
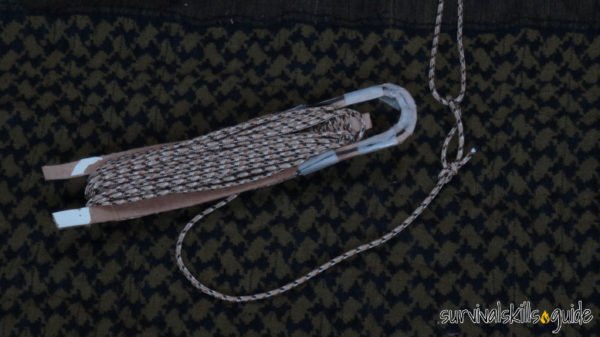
I’ve designed my own survival fishing trotline kit to be easily deployed and easy to retrieve.
I reduced the number of hooks per line to two, to keep it simple, safer and reduce tangles. I also use floats so that the hooks remain off the bottom, with this approach I don’t need to adjust the line if the water levels change.
This kind of trotline is easy to use if you are travelling at different sites near water because it’s fast to set up.
It is heavy duty and can be used for months without modifications.
It can be attached from a tree branch (limb line), float, pegged to the shore, or tied to a pole in shallow water.
I’ve made countless modifications to the trotline kit for durability, to make it easier to make, and easy to fix, take apart, untangle etc.
Survival Trotline Materials
In this article I’m using treble hooks as an example but I highly recommend using red circle hooks instead (I would use size 5/0). Another reason to stay away from trebles is that they are very hard to work with and could be very difficult to remove from your body.
Circle hooks work better with trotlines because they don’t need to be set (as in pulling the line) like J-hooks do (they are designed to catch the mouth’s edge). The red color increases the chances of catching a fish if you have no bait. It’s important to choose corrosion resistant hooks because they will be left submerged for a long time.
Unlike most trotlines, my design is meant to stay at the bottom; the hooks and line float. This allows for a stealthier profile, but this set up also works with changing water levels, and is easy to deploy.
I use corks as floats, but in the wild, polypore fungus could be used instead.
The leaders are made with snare wire, that way they provide some rigidity to keep the hook and bait away from the line.
For line I’ve used paracord in this example, but tarred twine might work better.
I think heavy washers will make good sinkers. I try to avoid lead and washers are simpler, thus more reliable (I haven’t tested thoroughly yet)
You might notice that I only have two hooks per line. This is because in a survival situation I could deploy many trotlines in different areas around camp, instead of just one or two; this way I can test which areas are more productive.
Another reason is that I don’t put all my eggs (in this case hooks) in one basket. A beaver could get tangled with my line and decide to destroy it and I would never find it again.
Hooks are gold.
I also wouldn’t have more than 24 hooks in the water at once, just because it’s very hard to keep 24 hooks baited everyday consistently when you only use bait from the wild.
Making the Survival Trotline Kit
The first step is to make a durable bag to be used as an anchor (with a rock in it).
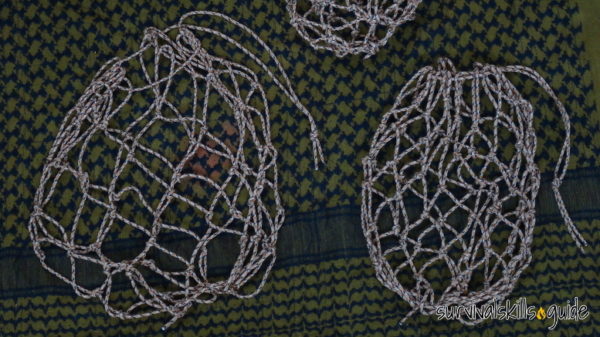
To start the bag, I tied a loop about the diameter of the rock I would use as anchor. This will be the drawstring and will be tied to the trotline.
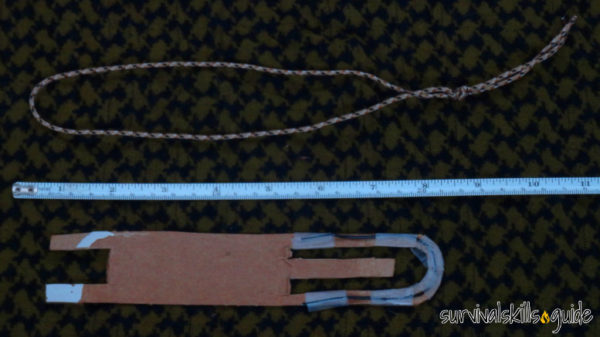
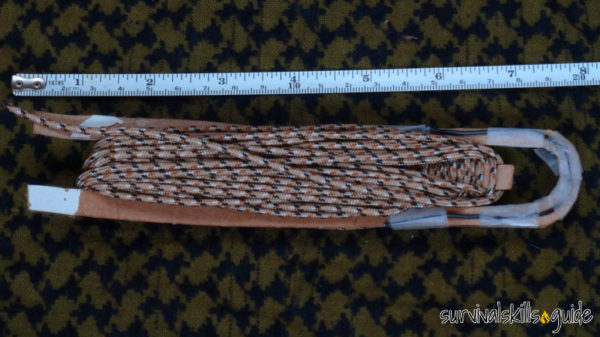
Making a net is way faster with a needle, so I made one out of cardboard, tape and a paperclip. The traditional shape is a little harder to make but it pays off.
I loaded the needle with 3mm cord:
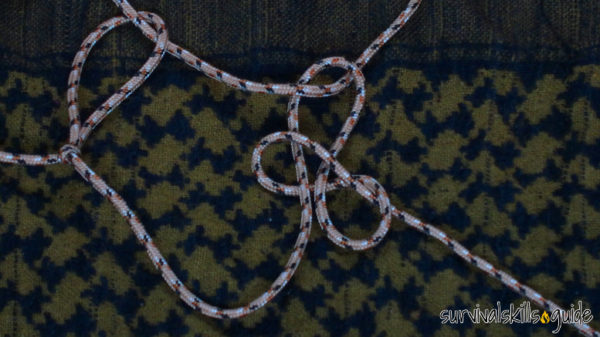
The first step is to tie the cord to the drawstring. I used a bowline leaving some space.
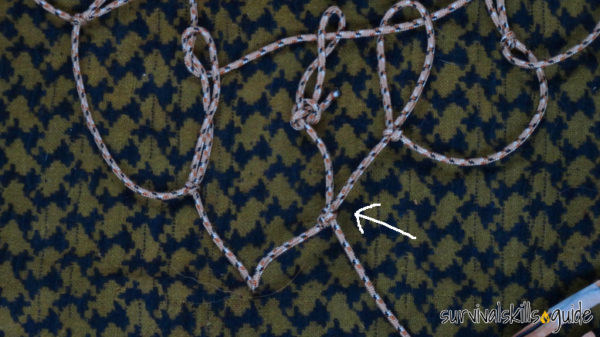
The next step involves a slight variation of the netting knot. Pass the cord from behind the anchor towards you and pinch the cord together to make a small loop. Then pass the rope underneath the loop and through itself. See below.
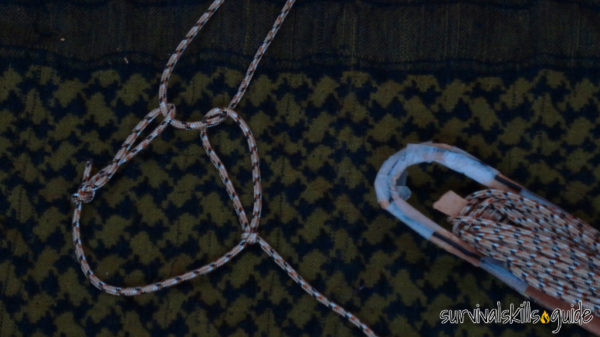
Continue doing the same knot for about ten times.
To join the first row, start a second row using a sheet bend.
Here’s a video of the sheet bend:
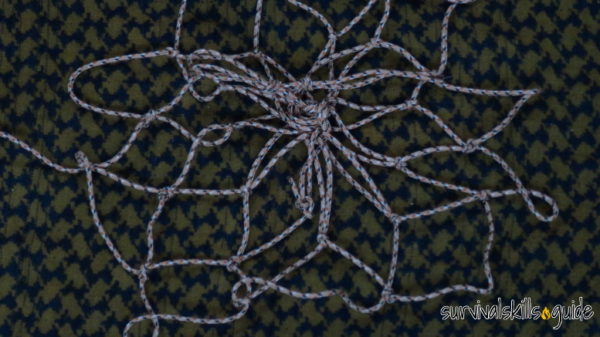
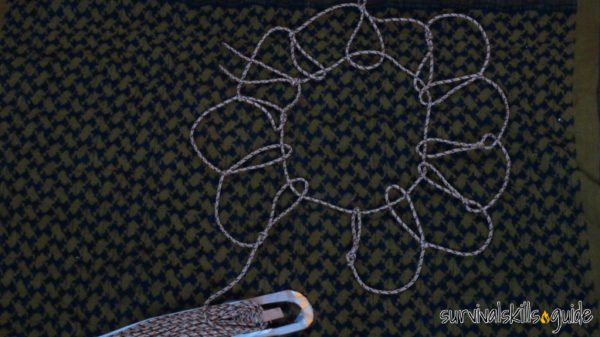
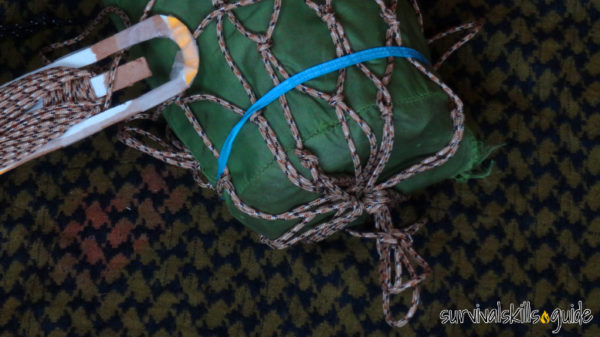
Keep adding rows until you can wrap the net around an anchor sized object. I tightened the drawstring and used an elastic band to keep the net in place. It’s easier that way to keep adding rows.
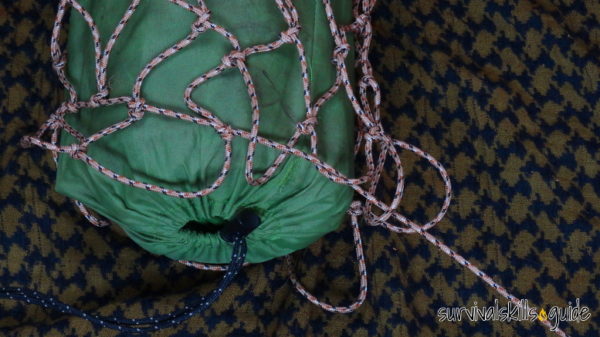
 Once the bag is big enough you can just pass the cord through the last loops. Tighten the cord and tie it to close up the bag.
The next part of the trotline is the line and hooks.
Check your local fishing regulations before using a trotline.